UAV TECHNOLOGIES
Attention to detail: Low Risk, High Resolution Data Capture
Unmanned inspection solutions

H.J. Stauble focuses on providing technology solutions using UAVs (Unmanned Aerial Vehicles or “drones”), for high resolution aerial data collection while minimizing human risk exposure.
Our UAVs are outfitted with 3 axis stabilized High Definition optical cameras for photo and video capture, FLIR thermal imaging sensors, laser scanners, & gas detectors. These sensors have been designed to inspect, detect and measure structural damage and failures. Sensor data is then used to produce informative reports & include highly accurate measurable 3D models, Ortho Imaging maps & Augmented Reality Overlays.
UAV technology can be applied in a multitude of services to assist in the asset management of refinery facilities, pipeline networks, manned or unmanned installations, onshore & offshore with specific applications for various types of inspections and the identification anomalies.
Our equipment can also be used to survey large scale facilities or developing construction sites from which accurate measurements/volumes etc. can be gathered.
All of the equipment & personnel are locally based & we have all the required registration & certification by the TTCAA to conduct these operations.
LOAD TESTING
SRTL’s Offshore Container Compliance Management Department
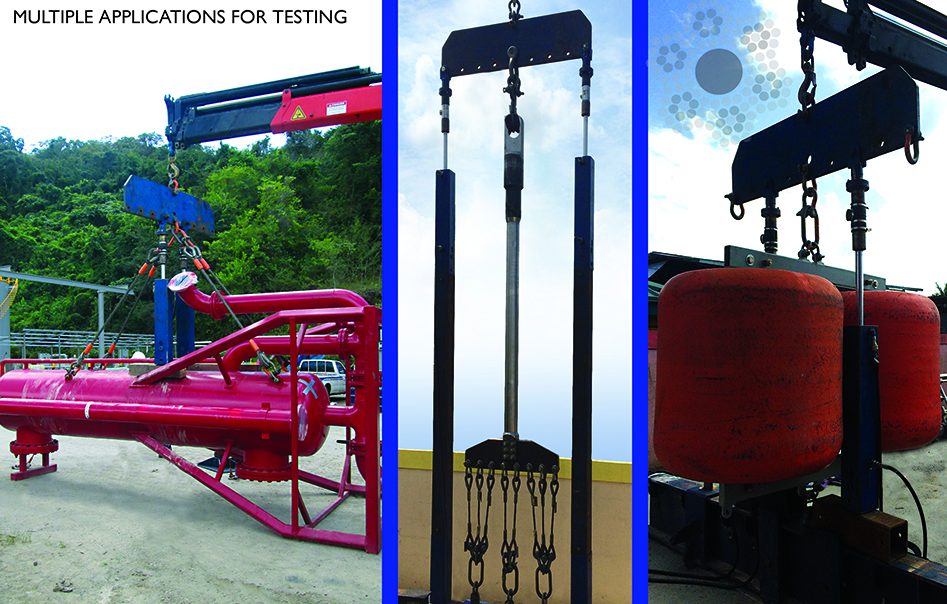
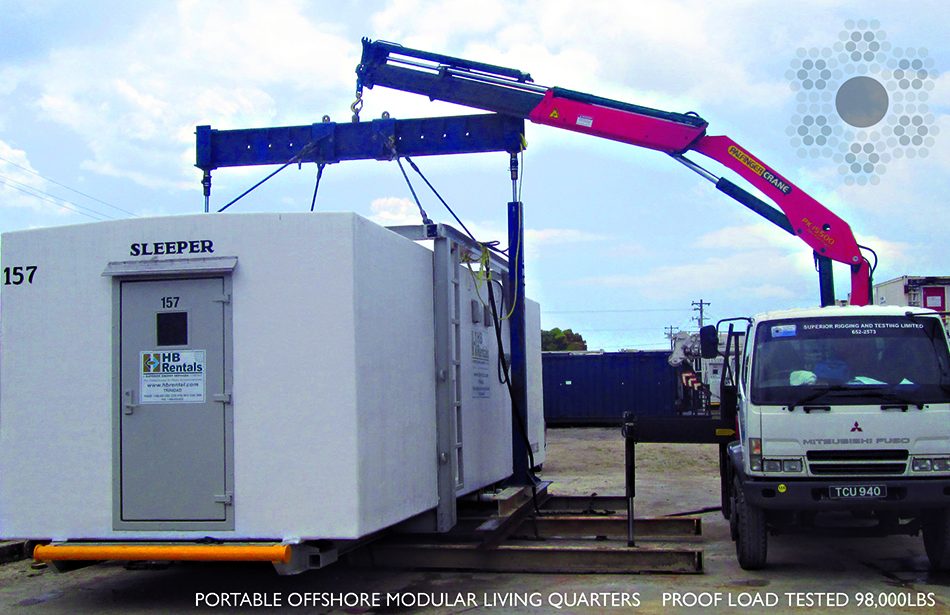
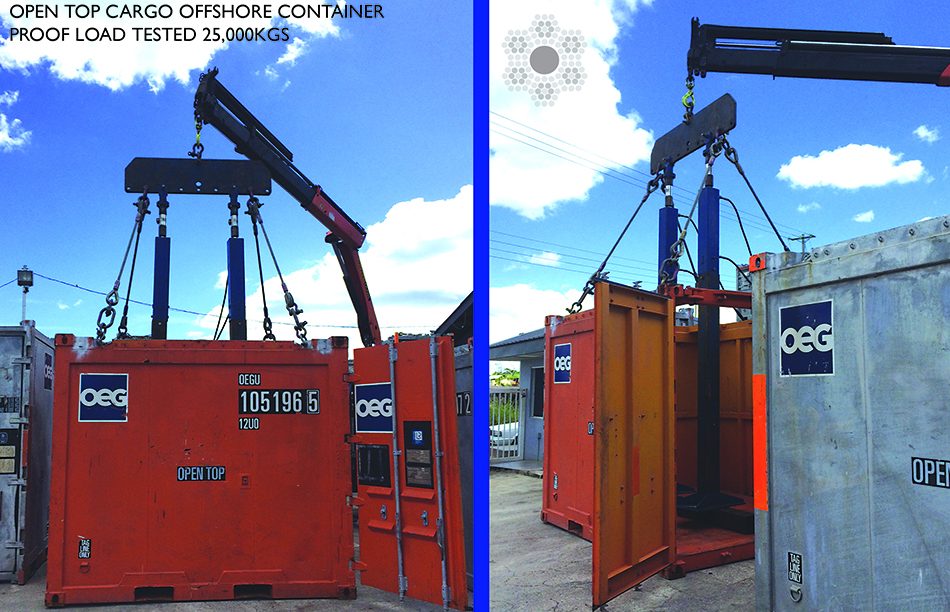
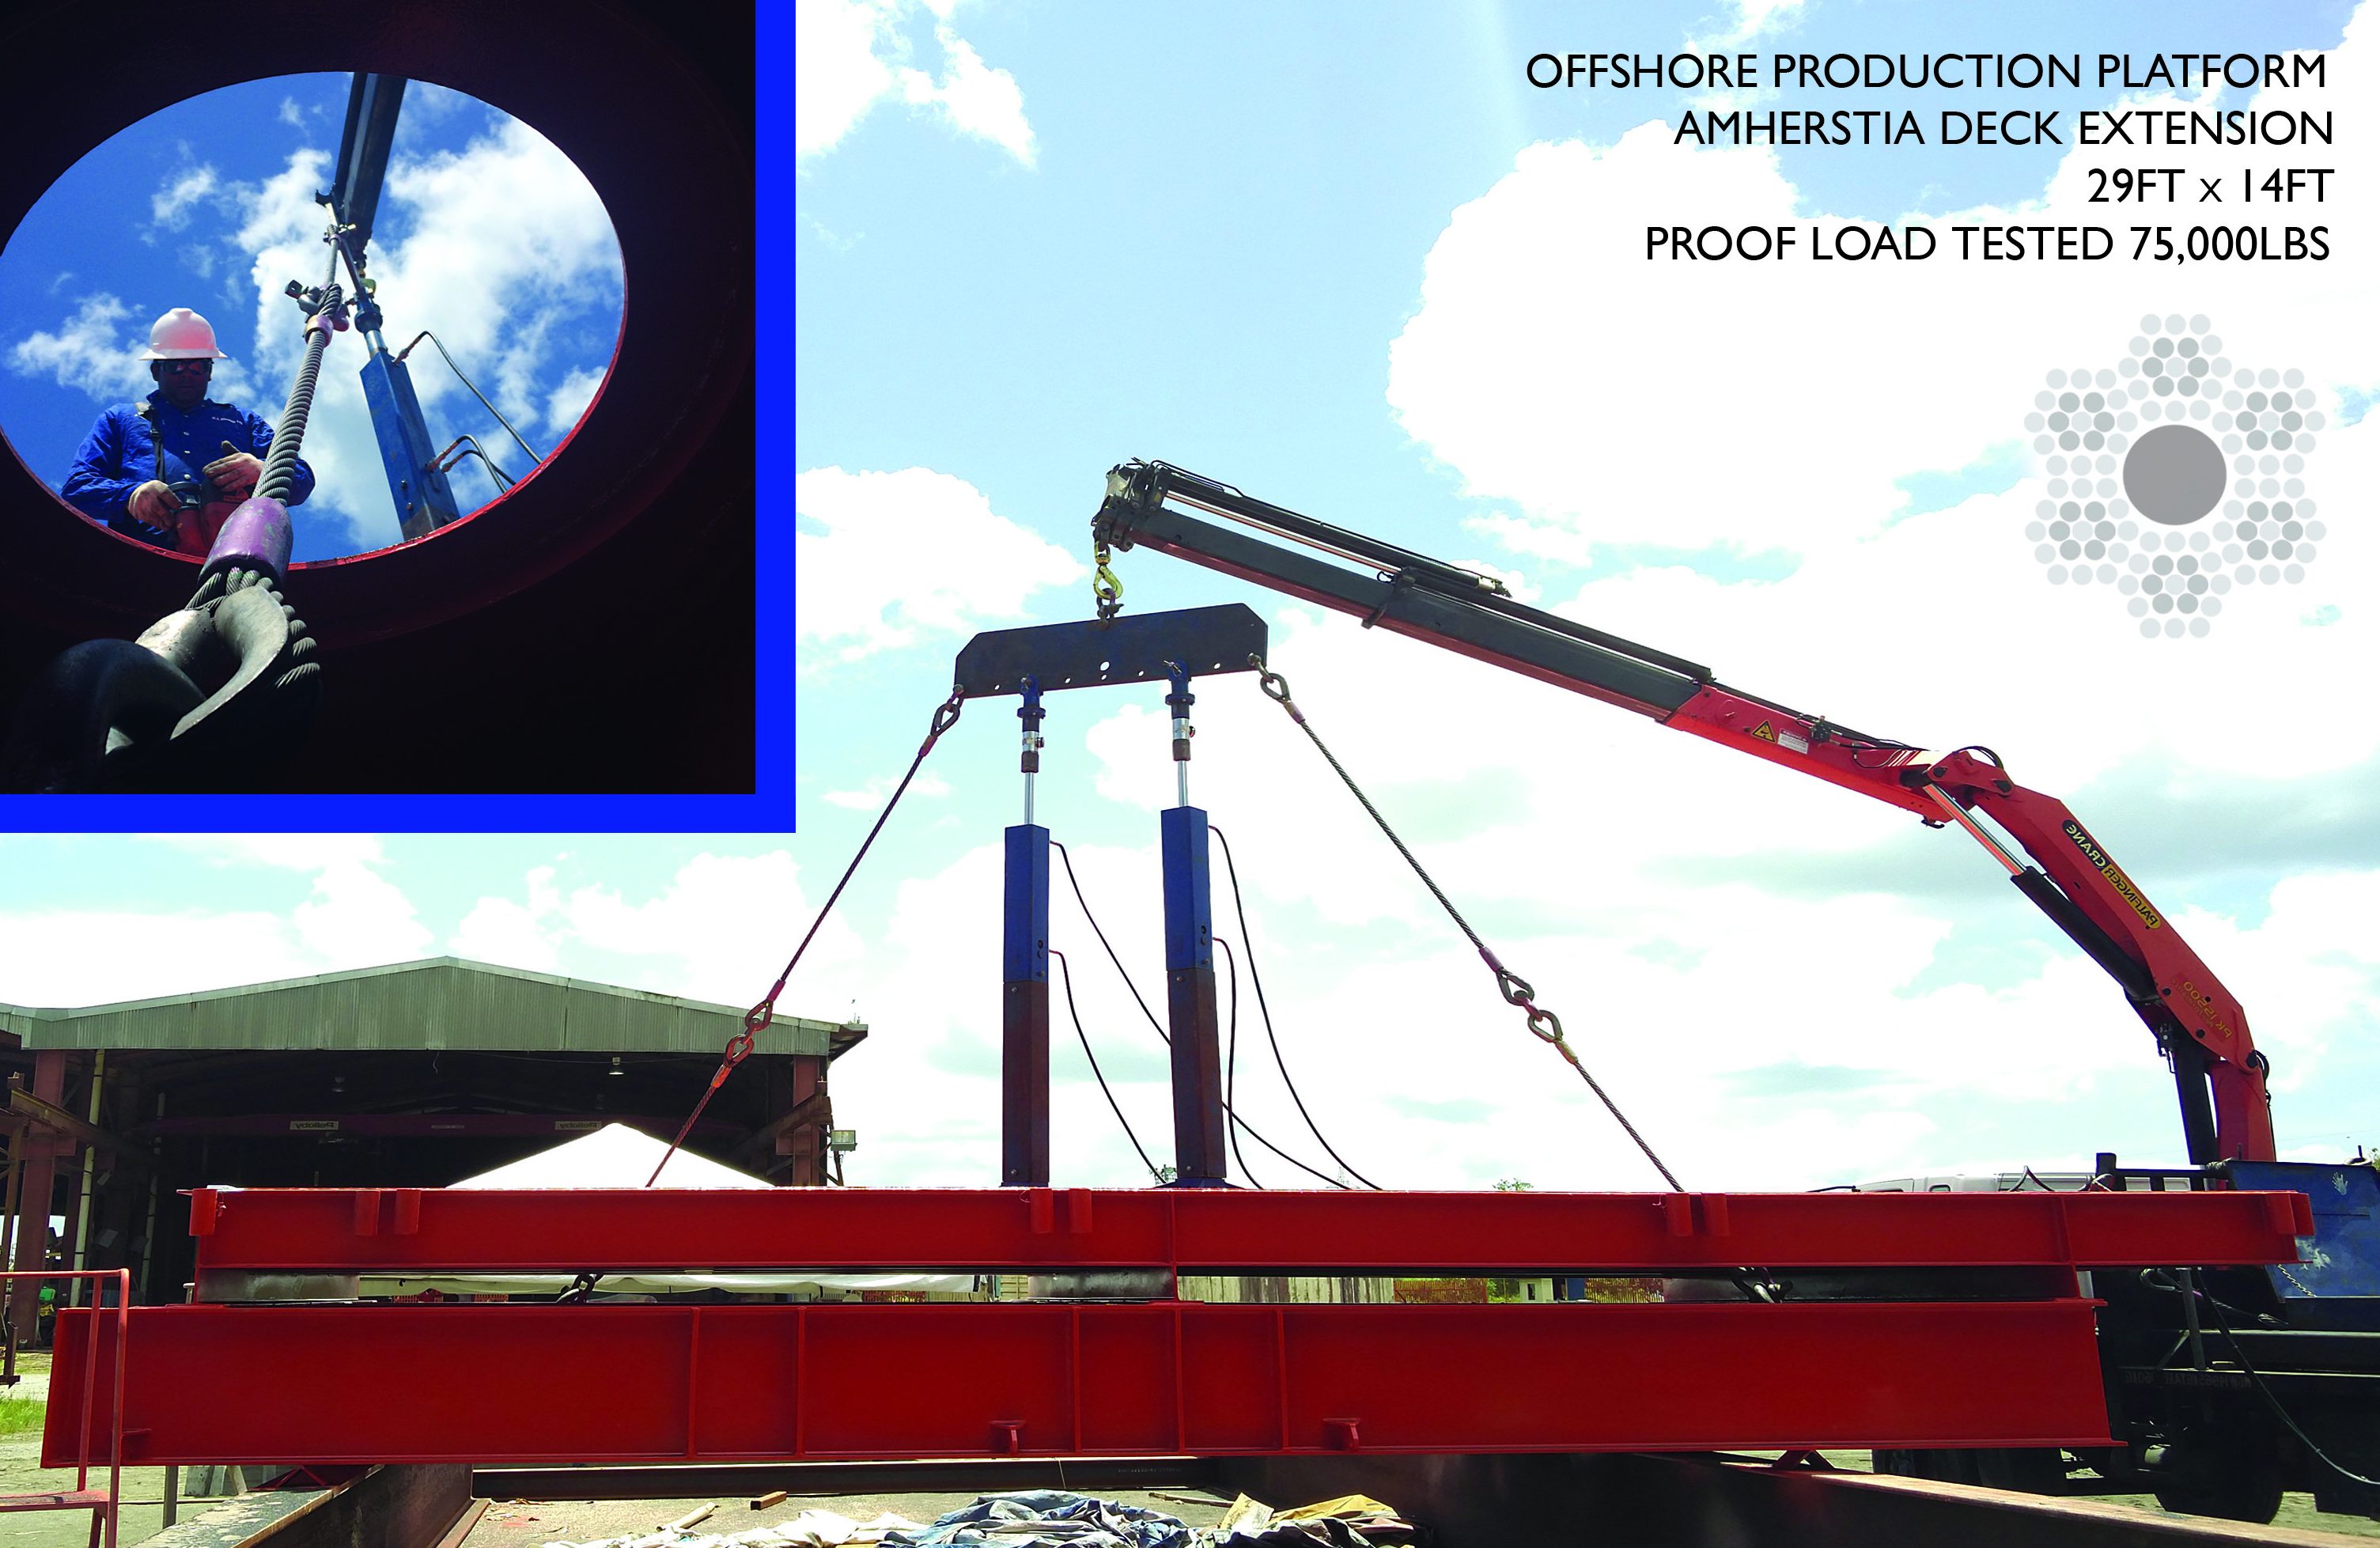
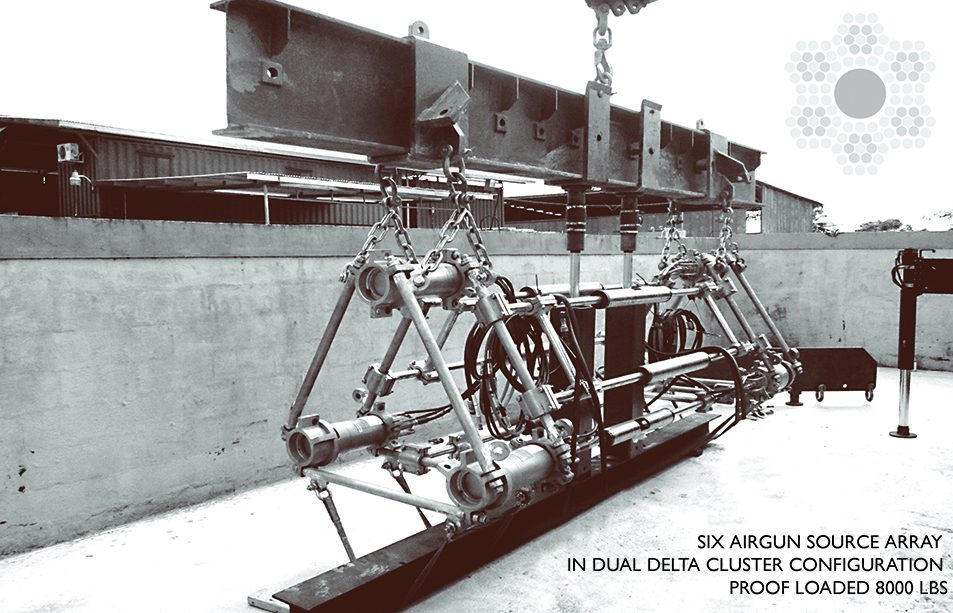
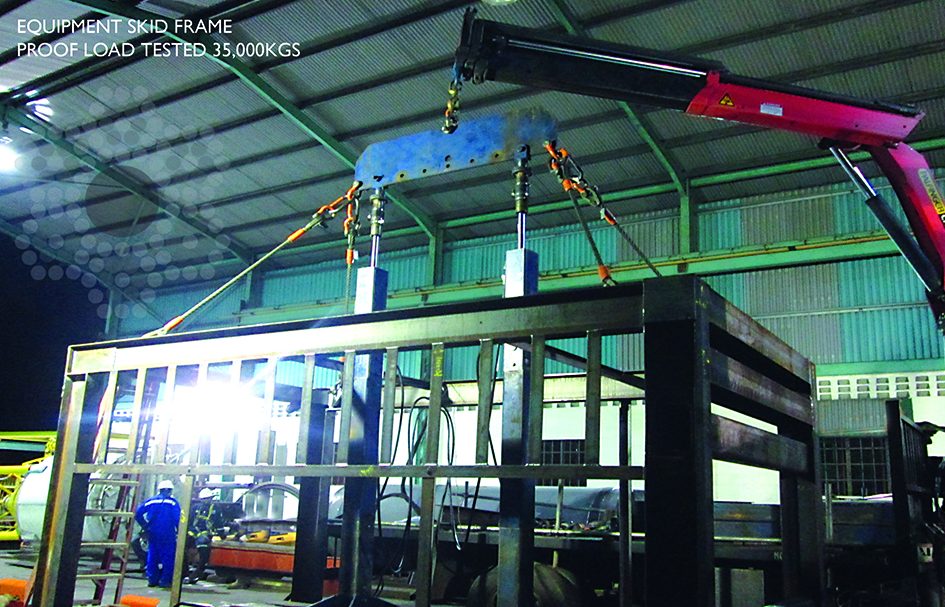
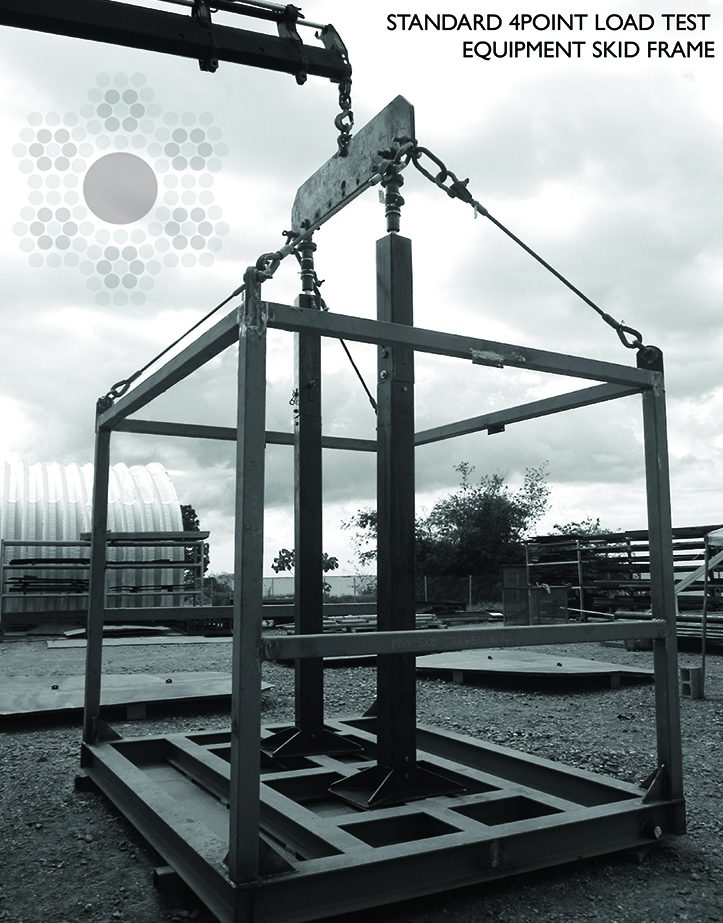
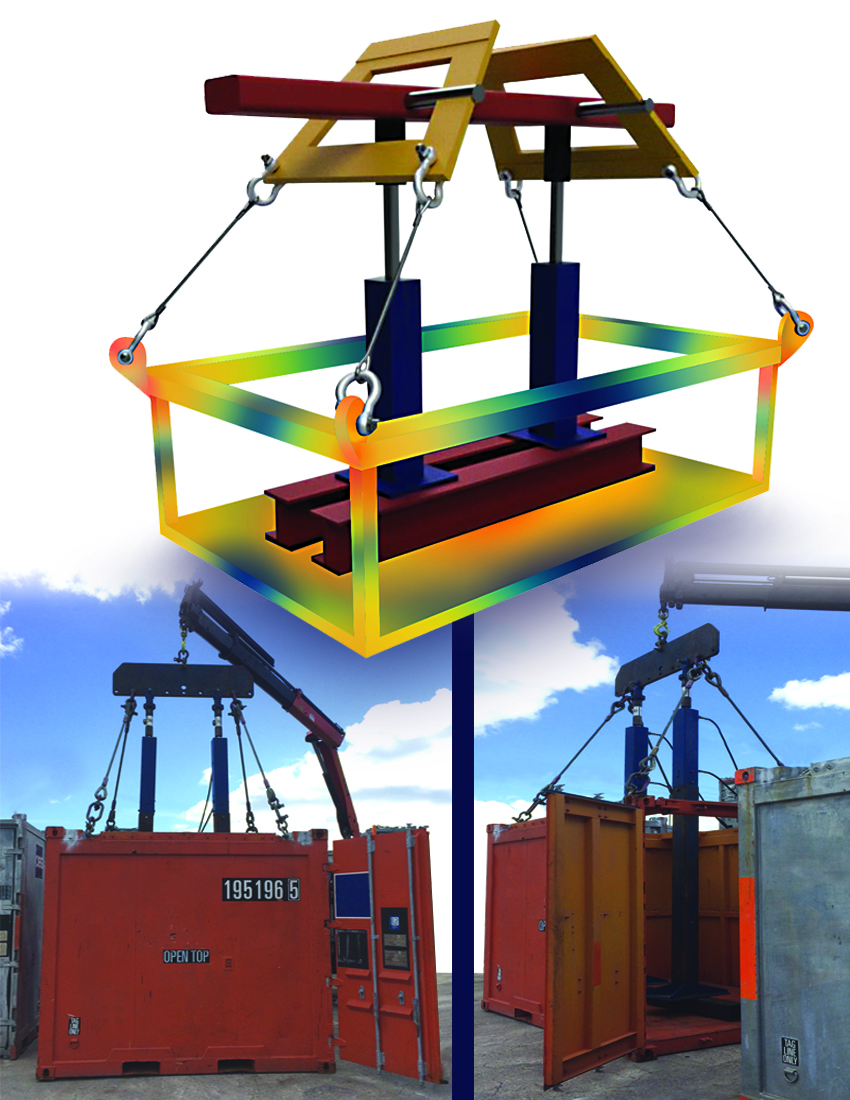
With our portable, Double Hydraulic load testing equipment (DHRS), we have the ability to provide you with an on-site call out service.This means that your unit doesn’t need to leave the compound, or even your base of operations, to be tested. We bring our equipment to you and conduct the testing in your presence, not only providing you the convenience of not having to transport your unit out of sight, risking damage and additional cost, but also giving you the confidence to know that your unit has been certified to its true load capacity.
Our Load Test Testing data is collected via certified Digital Pressure Gauge System that records in real time, the load being applied to the test unit. This data is then generated into graphical certificates verifying the true load capacity used during the test, into the required unit of preference PSI/LBS/KGS.
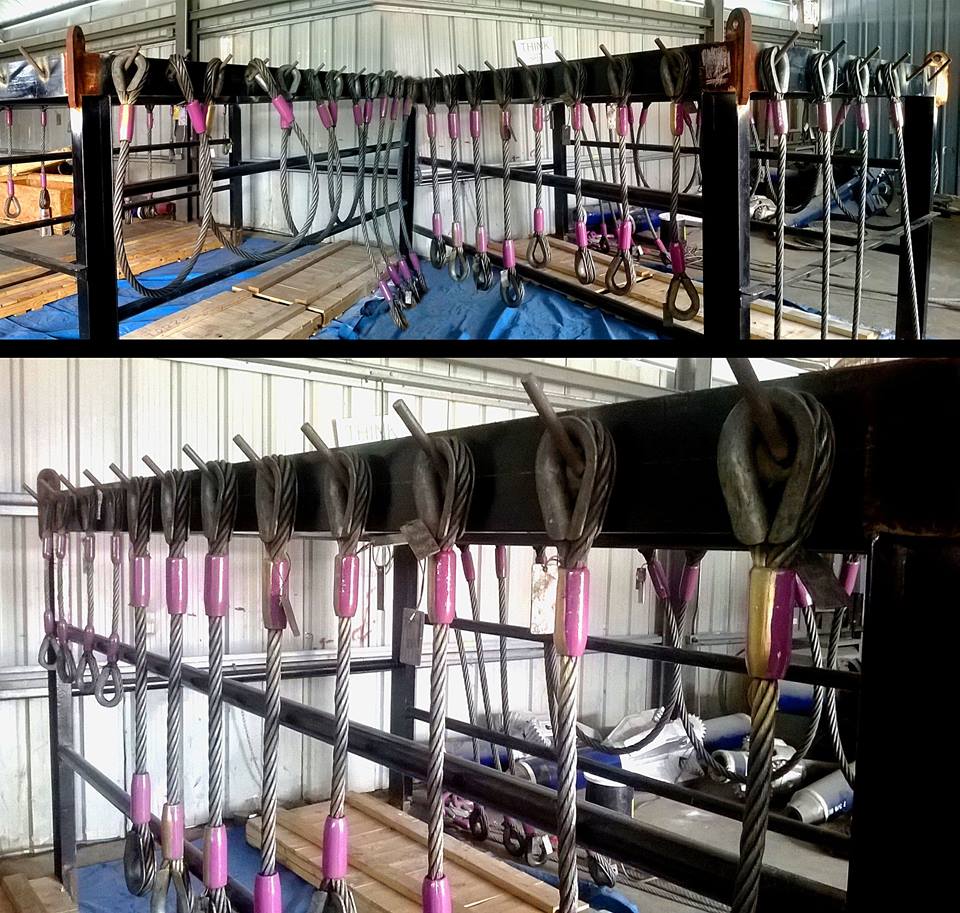
With our specialized Offshore Container Certification & Compliance Management Team, we can conduct the full suite of periodic inspections for offshore containers, including Load Testing, Non Destructive Examinations, Visual Inspections & recertification of Lifting Sets (wire rope & shackles) under the most recognised & accepted international standards obtainable, without your equipment having to leave the facility or shore base.
Our ability to provide on-site load testing is unique in its ability to adapt to the unforeseen challenges of the energy industry. Paired with our NDE services & Online Certification/Management, this allows us to support a robust operation with quick turn-around times to have the tested units placed back into operation with minimal downtime.
Superior Rigging & Testing has successfully completed the training of our inspectors with Lloyd’s Register, authorising SRTL personnel to conduct In-Service/periodic Inspection of offshore, CSC and General Cargo containers on behalf of Lloyd’s Register Central & South America Ltd (LR).
It is yet another part of our commitment to bring innovative methods of inspection & testing to the customer, whilst providing efficiency to support all ongoing operations.
NON DESTRUCTIVE TESTING
SRTL provides trained competent inspectors capable of carrying out non-destructive testing in the following methods:
MPT- Magnetic Particle Testing (Wet & Fluorescent)
PT-Dye Penetrant Testing
UT-Ultrasonic Testing (Thickness & Flaw)
These NDT methods are integral for managing the integrity of your equipment to ensure it is fit to withstand the rugged environments & also meeting the required safety standards . All personnel are ASNT Level II trained and certified and can execute onsite and in-house inspections.
MPT – Magnetic Particle Testing (Wet & Fluorescent)
MPT is a non-destructive testing process for detecting surface discontinuities in ferroelectric materials such as iron, nickel, cobalt and some of their alloys. The process puts a magnetic field into the test object.
When the part is magnetized, flaws perpendicular, to the magnetic field direction cause flux leakage. If a lapse or crack is present, the magnetic particles will be attracted to the flawed area, providing our inspectors with what is called an indication. Our technician will then evaluate the indication to assess the location, size, shape & extent of these imperfections.
PT – Dye Penetrant Testing
Liquid / Dye Penetrant Inspection is one of the most widely used NDE /NDT methods. Its pop-ularity can be attributed to two main factors: its relative ease of use and its flexibility. Liquid Penetrant Inspection can be used to inspect almost any material.
Superior Rigging & Testing utilizes Liquid Penetrant inspection to detect surface discontinuities in both ferromagnetic & non- ferromagnetic materials. In castings & forgings there may be cracks or leaks in new products or fatigue cracks in service components. We perform the test using visible red dyes under controlled light conditions or fluorescent dyes under ultraviolet light. As the name implies, the dyes penetrate into the surface discontinuities by capillary action. After the excess material is removed from the material being tested, indications will appear.
UT – Ultrasonic Testing (Thickness & Flaw)
UT measures remaining wall thickness on piping, pressure vessels, storage tanks and other equipment, and can be used to scan bolts, shafts & raw materials for imperfections. A straight beam is directed at the test piece and, utilizing the round trip time for the ultrasonic energy, the distance to the flaw is displayed in thousandths of an inch displaying multiple flaws at different
Shear Wave Ultrasonics
UT-S transmits an ultrasonic wave at a predetermined angle into the test material. Surfaces normal to the beam path & corner traps reflect the wave energy back to the transducer. The display shows the distance the wave traveled to the imperfection and the relative strength of the energy. You can also characterize what type of defect is present off the signal response.

